Photography Fundamentals for Small Business Success: Your Essential Guide to Captivating Shots
Welcome to our guide on improving photography for small businesses! As a passionate entrepreneur or small business owner you understand the significance of creating a strong visual presence for your brand. Stunning photographs can captivate your audience, boost your online presence, and ultimately drive sales. But, as a small business owner, you may not have the budget to hire professional photographers. Fear not! In this article, we’ll equip you with the fundamental understanding of what makes a good photograph and provide practical tips to take your own high-quality shots without breaking the bank. By mastering DIY photography, you can save big dollars and invest them in other essential areas of your business.
This is a fundamentals guide to understanding what makes a good photograph and is designed to be more of an overview in nature. This article alone will undoubtedly improve your photographs for your business. However as we go along I will provide links to more in depth articles on specific photography topics for those who are interested.
Professional photography is expensive but a necessary evil for most businesses. You need those great photos for your website or social media campaigns. While starting a business every dollar can count and it’s always a trade off between time and money.
Do I spend the time taking the photos myself and editing them, uploading etc? Or pay someone to do it for me and free up time to focus on other things?

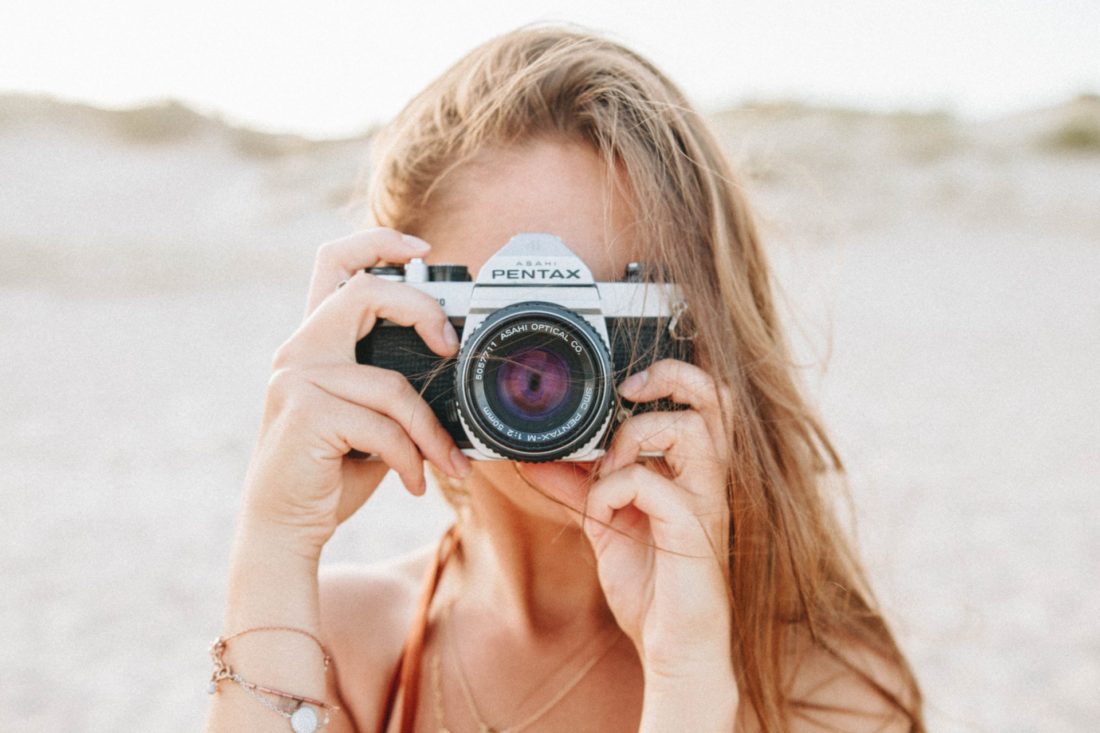
Photo by Paola Aguilar on Unsplash
Also do I spend the money on the equipment to take the photos myself or pay someone who already has all of the equipment?
Note: You don’t need lots of expensive equipment to take great photos for your business
Of course all of these questions have an answer of well…. Depends.
Depends on which you have more of, time or money. If you are in the very early stages of business you are probably doing a lot of things yourself so the photography for your business is just another thing to add to the list.
If you are a bit further in you may have the budget for upgrading your photography and are happy to pay a photographer and focus your efforts on engaging new customers or taking care of the finances or maintaining current customer relations etc.
Also depends on if you are the kind of person who doesn’t write off great photography as some kind of voodoo magic that only certain people possess and want to know how it works.
Well I personally like to know how things work and have invested lots of time in understanding what great photography is and in the following sections Id like to explain how to take great photos for your business without breaking the bank and hopefully minimal time investment. Not for an art gallery opening but photos for businesses. Product photography, places of business photography, your own headshots etc.
Equipment
Camera: – Well obviously there will be some investment but an entry level DSLR camera or your smartphone will absolutely suffice and allow great photos for your business for your website or social media.
Lights – For $83 AUD in 2021 I picked up a pair of Light stands light boxes and globes from amazon. Fantastic buy and means I can take product photography anywhere there is an outlet day or night.
Tripod – Lots of different options from $20 AUD upwards. Consider using weights or sandbags etc on the legs if outside or on unsteady footings.
Lights, Camera…..tripod?
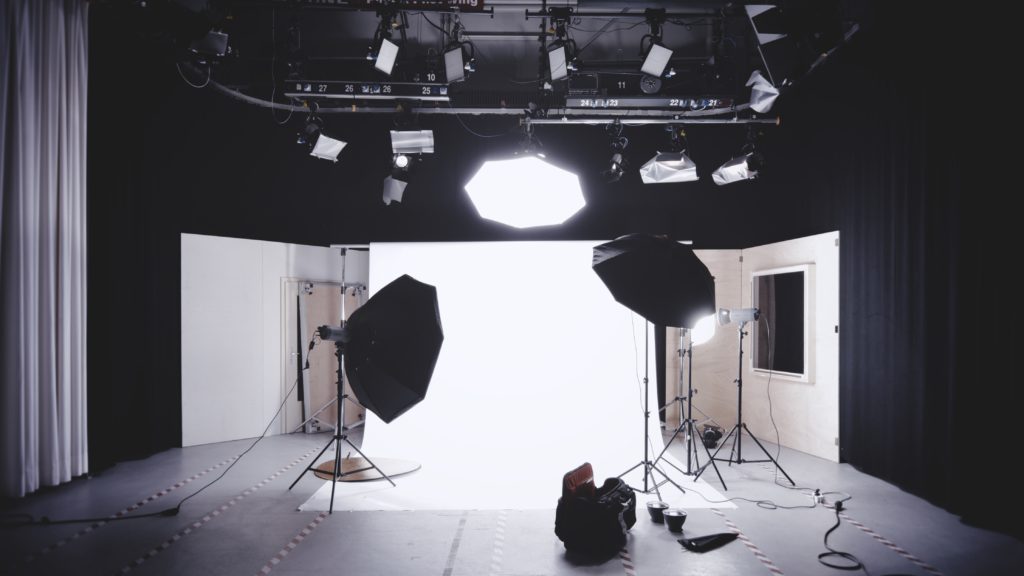
Photo by Alexander Dummer on Unsplash
So technically a great shot requires:
- Light (making sure we can see all the details of the subject)
- Composition (making sure the elements in the shot/frame are arranged as we want. Making sure the subject and the intention of the photograph is clear)
- Focus (making sure those details are clear and sharp)
- Stability a steady hand or tripod (use the tripod)
Light / Exposure
A great photo in any field is generally dependent on the light. You always need plenty of light available either via daylight or artificial lighting. It’s easier to reduce light or light sensitivity than to add light when shooting. Smartphones will generally adjust the light for you which is great to get started but eventually you may decide you want more control so it may be worth learning how to manually adjust your smartphones camera settings.
For indoor shots use windows and other natural light sources to help light your photograph. If using artificial lighting try and use those that mimic daylight more towards the white end of the spectrum than orange.
If you can afford external light sources (Lightboxes etc) as mentioned above then great use them but you can get away with daylight/window light.
Composition
Composition is the arrangement the elements in the shot to show off the subject and/or convey the message you want to convey. For the case of a headshot, you want the subjects face/head to be in the centre of frame. Or if you are taking a photo of an office building you want to make sure that is the focus of the shot and not something that gets lost amongst the other elements in the frame.
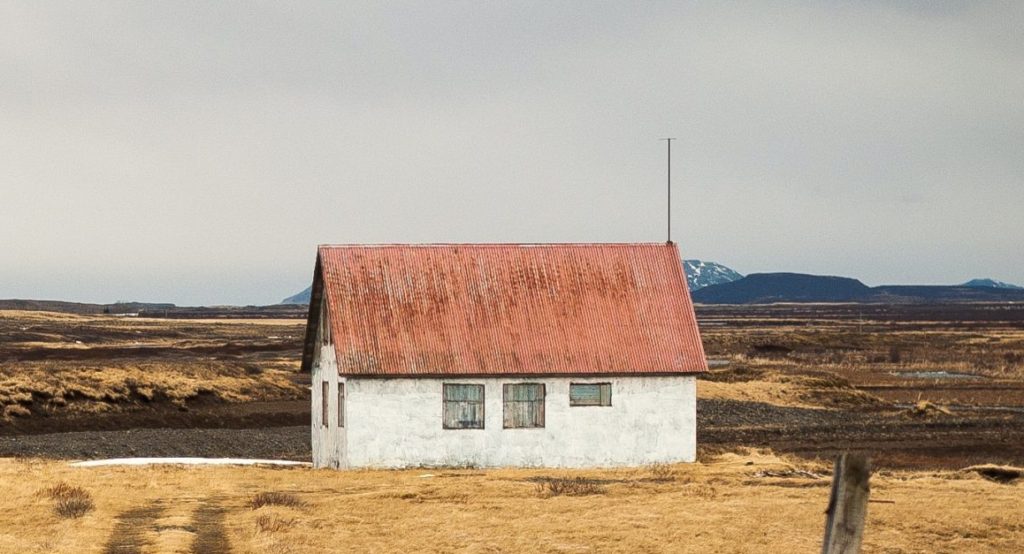
For example if the barn was supposed to be what you were highlighting in the picture:
Photo by Asa Rodger on Unsplash
Photo by Asa Rodger on Unsplash
Focus
So you have the light and the composition you are looking for, next is focus (Sharpness). This is to ensure the subject is not blurry in the photograph. With a smartphone this is generally taken care of for you with autofocus, face focus etc but some smartphones let you tap the screen on the area of the subject to ensure the correct area of the shot is the primary focal point. Maybe google how to focus xxxxx phone if you are unsure.
Stability
Stability is important and tripods are generally used where possible to take static images. This is due to the fact that when you press the shutter button on the camera you create shake and this can affect the quality of your image by adding unwanted motion blur.
Process
A general process for setting up a shot would be:
- Walk around with the camera and find an angle that looks good in the viewfinder or on the smartphone screen, taking into account the composition you are looking for and light strength/positioning.
- Set your camera on the tripod in the position you are taking the photograph from.
- Set your focus using the DSLR lens focus ring or autofocus by lightly holding the shutter button, or tapping the smartphone screen as described above.
- Take the shot
- Review and repeat
Editing
Once you have a nicely lit well composed sharp image. Generally the next step is to edit using some kind of software to “tweak” the image. I wasn’t sure whether to include editing as part of the fundamentals guide because I think you can get some pretty good images in camera. Also trying to keep budget friendly initially and large commitment friendly I don’t want to recommend an Adobe subscription. If you are interesting in playing with editing software you can check out this article on alternative free image editors to get your feet wet.
I would use editing software initially just for exposure correction as this alone can make huge differences to the image quality.
Conclusion
Congratulations on completing our fundamentals guide to photography for small businesses! I hope now you have a solid understanding of what makes a good photograph and the essential techniques to capture better shots for your brand. Implementing these skills will undoubtedly elevate your business’s visual presence and captivate your customers.
As we progress, we’ll be providing links to more in-depth articles on specific photography topics, allowing you to explore and refine your skills further. Whether you’re interested in advanced composition techniques, lighting mastery, or diving into the world of post-processing, our upcoming articles will cater to your thirst for knowledge.
Remember, this guide alone has the power to transform your business photography, but delving into the more detailed articles will open up new avenues for creativity and excellence. So, stay tuned for upcoming posts, and let’s continue this exciting photography journey together!


